Showing posts with label baby shower. Show all posts

Monday, August 27, 2012

Diaper Wreath and Wishing Tree

Well, since we're in party mode, I thought I'd keep it rolling by posting on some of the baby showers I threw / helped throw while I was on my hiatus from blogging.

I've made a diaper cake before, and I've received a diaper cake before.  Let me tell ya, after unrolling a million itty bitty tiny diapers and trying desperately to make them flat so they'd lay in my diaper basket I had for Kalia, I really would be a happy camper if I never had to make one or unroll one ever again.  Those things are a pain!  They are super cute, but not so practical.  I mean, I guess they're practical, it just takes a.lot of work to get to your present!

But I know they're cute, and if nothing else, baby showers are supposed to be cute.  Sooo...I decided to make a diaper wreath instead!

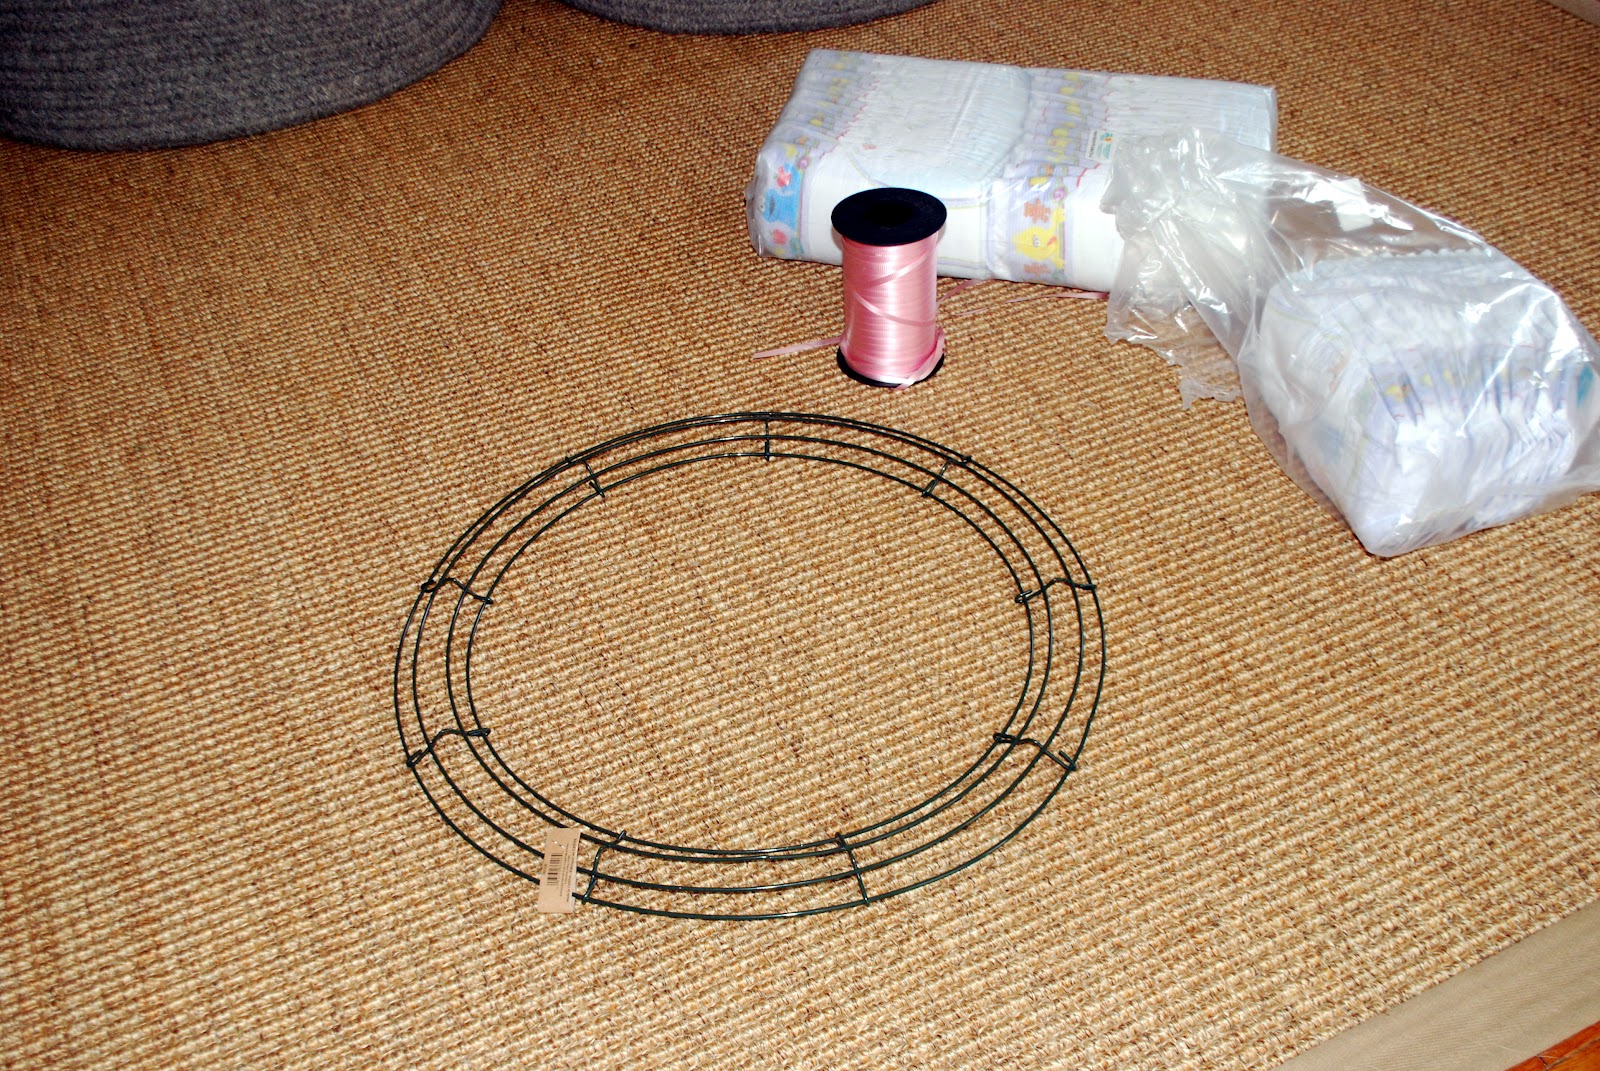
Here's the materials you need :
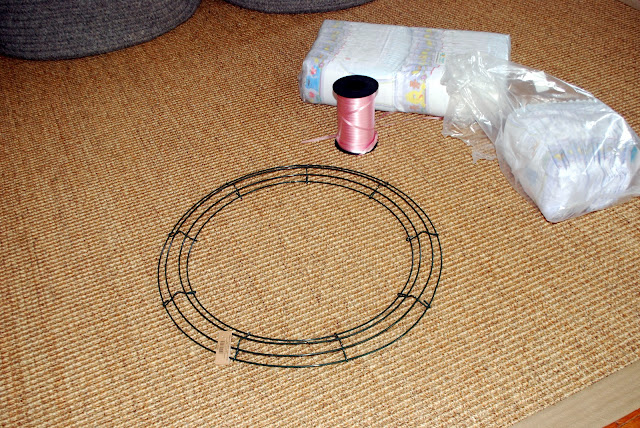

All you do is take those little diapers, and tie a string around them until you fill up the wreath form.


This one was going on the front door of one of my girlfriends parents house on a tiny nail, so I didn't want it to be too heavy, so it just got filled with diapers.


This next one I hung in the mirror above my buffet in my laundry room and added in a few toys for the new baby boy.  I know when Kalia reached the age where she started wanting toys, I was so grateful that friends had gifted me with them, even though they weren't something I thought to register for.


And this last one was for a second time Momma.  She's got lots of toys, so I stuck with bath supplies to fill her diaper wreath with.  Her first one was also a large baby, so I skipped the newborn diapers and went with larger ones.  Much more practical when your baby outgrows newborns dipes before even leaving the hospital!


Another thing I did for all of these showers that was a big hit was a wishing tree.  For my girlfriend that was having a little girl, I took a branch, spray painted it white, then added in a tiny bit of silver spray paint to make it more girly and added in white rocks.


For all three baby showers, I used this cute little bird notepad and had people write their wishes for baby and Momma to be.  It's a cute way to do a personalized guest book.  I added these little buckets to hold the pens and paper in.


For the Momma's that were having boys, I stuck to bare branches and the yellow and brown rocks.


I also used baby bottles for vases, which I thought was a really cute touch.


Unfortunately, with a wee one in tow for all of these showers, I didn't snag as many pictures as I would've liked to.  Chris snagged this one of Kalia and I at the first shower...it is crazy how much she's changed (she was 5 months in this pic).  She looks so little here!!


Ahhh...love those dimples of hers so much!!!  Sorry, sorry, back to the post...

All of these babies the showers were thrown for have already been born, and I'm so glad I could help their Momma's get ready to celebrate their big days by throwing these showers for them.  I am, however, officially on a baby shower hiatus...for now anyways.  I'm actually onto wedding stuff (yay Jenny!).

Anyone else throwing a massive amount of baby showers, or got any fun ideas for bridal showers / bachelorette parties (that's not x rated!)?  I swear, something gets in the water around these parts...it seems like we go through spurts where everyone is pregnant!

Hope you guys had a great weekend!  Happy Monday!

If you enjoyed this post, please leave a comment or subscribe to the feed reader to get future posts delivered to your reader.

Linking up to the parties in my sidebar - go check them out!

Friday, April 8, 2011

Sister Spotlight : Digital Scrap Booking

My sister Jennifer is the crafty one of the crew.  I'm more of the brute force, build, and tile kinda gal, and she's the creative crafty one.  Sometimes I can fake craftiness, but she's the for real deal.  She makes home made cards that look way better than Hallmarks, and within the past few years has gotten into digital scrap booking.

For those of you that are scissor challenged like me, digital scrap booking is the way to go.  It's also so much easier just to put everything together online and have it shipped to you already done.  We get family calendars this way every year from my sister, and it's such a practical, yet still pretty way to scrap book memories!

Jennifer used digital scrap booking to make my baby shower invites that she sent out last week, and since some of you want to see what I look like as a fatty :-), I thought I'd give you the best of both worlds...a creative post with images of me sporting my newfound bowling ball.

Just an FYI, Jenn used her Creative Memories software program Storybook Creator 3.0 to create these 5 x 7 landscaped cards.

This is the front of the invite :


And then when you open up the card, this is whats on the top :


The image on the right is Chris and I at 20 weeks pregnant.  He forgot that he's supposed to gain sympathy weight for me.

The bottom, or 'main' part, of the inside card shows this :


Believe it or not, I put my camera on a ladder and hit the timer button to take the series of pictures above.  Kodi's actually cropped out of the top picture.  I have no idea how that dog knows to smile at the camera, but he does.  I couldn't stop laughing in this mini photo shoot I did with the two of them, so please pardon my bad posture and even more round face from laughing!  Again, Chris isn't keeping up with the sympathy weight like he's supposed to!

Amazing, how much 'growing' I've done, huh?!  That picture was taken at 29 weeks.  I just keep getting bigger by the minute these days, I swear!

And then when you flip the back of the card over, you see this :


I love that Jenn incorporated the things we've done for Kalia's nursery too!

So what do you guys think?!  Are you sold on digital scrap booking or do you prefer the old school method of scissors and paper?  And isn't my sister talented?!?!  :-)

Happy Friday everyone!  Hope you guys have a great weekend...my number of weekends to get things done before Kalia arrives are dwindling down...so much to do, so little time!

If you enjoyed this post, please leave a comment or subscribe to the feed reader to get future posts delivered to your reader.

Thursday, December 9, 2010

Baby Shower

Thanks so much to everyone for their kind and sweet words on my latest post.  The emails and comments I got were beyond touching, and I really truly appreciate every single one of them.  I'm doing better...I'm gonna focus on what I tell other people to do...look for the rainbow after the rain.

Also, thanks for all your compliments on our family pictures!  Some of you guys seriously made me blush!!

Now...onto more fun topics...like posting pictures of the baby shower!!!

The shower started at 530 p.m., so the other girls started showing up around 5 to put their food and decor out before the Mom and Dad to be showed up. Here's some photos I snapped really quickly before the chaos began...

First up, the changing table with the diaper baby and the m&m favors.  Only one diaper baby made it on display.  The other one I couldn't figure out a way to creatively incorporate.  Besides, we wound up needing the diapers for one of the games!


As far as the books on the changing table, we had asked everyone to bring a book in lieu of a card, so we could get the babies library started.  I think the Mommy and Daddy to be really appreciated this!

The Hersey's Bar Favors.


The Diaper Cake with a few more of the Favors for decoration.


The two Baby Garlands on either window.  Thanks so much to another Kara for suggesting using the 3M removable hooks.  They worked so perfectly, and I think my T. Mom has now taken stock in them for hanging her Christmas decor!


Here's a view of the room from the kitchen :


Oh yes, and Kodi.  That's Kodi's second home, so he protects it and watches over it like he does his own.  And yes, that's the Auburn / Alabama game on TV.  I'd like to say that I had the football game on because it was a coed shower, but we all know how much I enjoy watching college football (even if it's not the Gator's - go SEC!).

My parents recently redid their kitchen (in all honesty, they recently redid their entire home...I'll have to do a before and after post at some point), and their bar area works out perfect for doing buffet style food and drink.  All of my co-hosts brought something, so this entire counter was filled to the max once everyone got there.


We used the large containers for water and sangria, the decanters for wine,  and then on the far left we made a non-alcoholic punch.  I put out little labels so people knew what things were, which worked out perfectly!

After dinner, we played a few games.  To get the guys involved, we did a diaper changing contest between the boys.  We had 2 rounds of three guys (one of the experienced Dad's was disqualified...when you have 2 still in diapers, it's just an unfair advantage!)

Round 1 :

Uncle to Be, Dad to Be, Grandpa to Be
Round 1 winner : Tie between the Daddy and Uncle to Be!!

Round Two
Ryan, Tim, and Chris
 I had to include that picture for round two.  Do you see my husband's face?  He's looking at those diaper tabs like 'what the heck do these things do?!'  And you wanna know what his diaper baby looked like?!


 No, the doll didn't come with a dirty diaper already.  Oiy...I have some work to do one day!!

Obviously, Chris didn't win round 2.  Tim did.

Round 3 : Playoffs.  From this picture, it's obvious that the soon to be Daddy won!!!  Yay!


He might need to give Chris pointers one day!

Here's the only picture I can find of the gift table, and the "best balloon in the entire world".  The baby's name is Yulander III, so it was a really cute balloon.  We had flowers dispersed throughout the table, which added such a fun touch!

Gift Table with Grandma to be!
And lastly, I'll end on a picture of the Uncle, Grandma, Mommy, and Daddy to be :


It was such a fun shower...a lot of work and love went into making it as special as we could, and the Mommy and Daddy to be really appreciated it all.

So what's the end verdict on the diaper baby?  Still creepy, or did you think it worked well on the changing table?  I really did have such a good laugh reading through all of your thoughts and opinions on that...you guys surely are entertaining!

Thanks again for all of the kind words on my last post.  Your support is so appreciated!!

If you enjoyed this post, please leave a comment or subscribe to the feed reader to get future posts delivered to your reader.

Monday, November 29, 2010

Tutorial: Baby Shower Favor : M&M gift bags

Hope everyone had a fantastic Thanksgiving!! Mine was crazy, busy, fun, and filled with lots and lots of family...you know, the norm.  There are so many things I have to be thankful for this year...I am just immensely blessed!

I didn't get a chance to post a tutorial on one last item I made for the baby shower before the actual baby shower, so you get the tutorial after the baby shower.  I'll post pictures this week sometime on everything in action.

Initially I had this idea to put blue and brown M&M's in baby food jars and relabel them for the shower.  All of my friends are either pre or post baby food stages though, so baby food jars were hard to come by.  I know I can buy them, but I was looking for a resourceful way of doing the favors (I mean, isn't the shower about the Mommy and Daddy to be anyways?!), so I nixed the baby jar ideas.

The next best thing that was just as economical was making thank you bags with the M&M's.  The individual little bags you get at the craft store weren't any better than what I could make myself, so I went the homemade route for this too.  Here's the full tutorial!

1.  Get a giant bag of M&M's (I love the peanut ones...it fills the bags better) and separate the candies into the color groups that you want in baggies.  I initially just did blue and brown, but as you can see from the brown bag, they were quite lacking, so I mixed in orange (it IS a Gator baby after all) to do blue and orange thank you's as well.


2.  Next, I got the same number of cups as bags I planned on making and distributed my M&M's into these cups evenly.  I started with 5 per cup and worked from there.  My husband wants to know why I'm only OCD when it comes to my crafts and projects and not cleaning the house, doing the laundry, etc..  Um, because the fun factor in all of the chores is zero, and I'm purely motivated by fun factors.

3.  Ignore this cute, but pathetic looking face as he tries to nose your M&M's.  Chocolate and human food in general is not for you Kodi-man, sorry!


4.  Find label toppers that you like.  I took these cloud ones from Tart Workshop and edited them in Paint to say Thank you.  I only printed out the blue and brown ones.

5.  Cut your papers.  Remember to use your paper cutter instead of your scissors!!  Saves SO much time!


6.  Take a roll of Clearphane and cut it into strips wide enough to make baggies.  Error on the side of too much, you can easily go back and cut off the excess later.


7.  Using your labels as a guide, cut your strips again.  You want your strip to be slightly smaller than your labels.


8.  Fold your strip in half.


9.  Staple both sides of your strip to form your bag.


10.  Dump M&M's in.  Pat yourself on the back for this actually working.


11.  Take your label and hold it on top of your bag, making sure to line it up.


12.  Staple the sides, bottom, and top of your label.


So the finished product looks like this:


and this from the back (but not sideways...sorry, ran out of time to edit!) :


13.  Repeat a million more times.  I found it easiest to cut all of my labels, then cut all of my strips, then staple all of my bags.  Doing it one by one seemed to take a lot longer.


14.  Admire your pretty, economical,  Thank You bags!!


They went in a pretty bowl for the actual baby shower...this Tupperware container was just for transporting.  Stay tuned to see the entire baby shower all put together!

Happy Monday!

If you enjoyed this post, please leave a comment or subscribe to the feed reader to get future posts delivered to your reader.


I'm linking to the parties on my sidebar...go check out what everyone else is up to!

Wednesday, November 24, 2010

Refinishing a Melamine Changing Table

Yep, another baby post.  This one isn't a craft though, this one is a furniture makeover...more up my ally than the rest of the posts.

Our friends know that my hobby is to build things, so they asked if I'd make them a changing table.  With my complete lack of any free time with the holidays and Chris's school, and my funds running rather short with those two as well, I did the next best thing...I found one on Craigslist and re-did it for them.

Their requests were that the changing table had drawers, not shelves, and that it be coffee colored.  I scoured craigslist for FOREVER trying to find a wood changing table that I could refinish.  I finally found one that looked like it would fit the requirements, with one slight problem.  I found it on the craigslist where my parents live.  I called my T. Mom and asked if she wouldn't mind going to check it out, and if it was wood and looked good, to go ahead and get it for me.  I'm lucky I have nice and helpful parents, I know.

When they came over the weekend of November 12th, they brought it with them so I'd have time to work on refinishing it.  My initial plan was to try to get it ALL done Thanksgiving day, which was an absolutely dumb idea and there's no way it would've worked out.  Thank goodness they're smarter than I am and brought it on over.


Do you see the problem with this furniture makeover yet?  It's not really all wood like I'd build with.  It's the melamine / particle board finish that a lot of furniture is made with, but that isn't all that easy to refinish.  Oiy.

First, I attempted to sand, and then re-stain this.  I knew it wasn't going to work, but I still wanted to try.  I used 150 grit sandpaper just to lightly sand the surface and then stained a small section along the back.  You can actually see that in the first picture.  Unfortunately, my intuitions were right, and all of the stained rubbed off really easily.

Time for plan B.  Gel Stain.  I've used Gel Stain before on my front door.  My Dad actually suggested that we use it when I wanted to go for the stained look, but my door was fiberglass (or so I thought, under like 300 layers of paint, it really was wood, but that's another story in and of itself).

Gel Stain will stick to a lot of surfaces, melamine included.

There are a few downsides though.

  • It's really hard to get a completely even finish.  You can go super slow and think that you have a super even coat, and it still will dry a little uneven.  It's unfortunate, but it's a reality.  Check your "it's got to be perfect" hat at the door.
  • It takes FOREVER to dry.  The container says 6-8 hours before a recoat, and 24 hours dry time I think.  Mine took more like 48 hours.  If you touch it or attempt to do anything with this piece inside of that time, you will leave streaks on it.  I do live in Florida, so I do realize that humidity and temperature play a part here, but still be very cautious on this.
  • You need to work relatively quickly in sections.  You can go over your previous brush stroke, but you've got at max a 5 minute window before you just start smearing the gel.  This plays into the hard to get an even finish qualm as well.
  • Your color options are limited.  My Home Depot had a light wood, a cherry wood, and a brown wood color and that was it.
  • It is significantly more expensive than a can of regular stain.
So again, the huge benefit is that you can get the stained wood look that you want on a less than ideal surface, but it is a wee bit of a pain.

I don't have step by step pictures of this one...I did this whole thing over the course of a week and a half.  I finished up on Monday putting my 2nd coat of polyurethane on it.  Whew...just in time to let it dry before heading over for the holidays.

I got these cute knobs at Anthropology.  Obviously, the pink wasn't gonna work with the baby boy they're having!


Here's a close up of the knobs in action :


I actually didn't tighten the knobs all the way...we have to take it over for the shower, so we might need to remove them then, and I didn't want them to struggle with trying to get them off when they try to transport this beast home.  So, ignore the slightly crooked knobs please!

Here's the finished product :


I'll end on one last picture of my diaper cake standing where it'll go for the shower.  One of the diaper babies is going to go on the changing table here as well, but positioning those babies can be semi time consuming, so you'll have to wait until baby shower pictures to get the full effect.


I really hope the Mom and Dad to be like it!!

ONE more day till Thanksgiving!!!  Woo Hoo!!
If you enjoyed this post, please leave a comment or subscribe to the feed reader to get future posts delivered to your reader.


I'm linking up to the parties in my sidebar...go check them out!
Related Posts with Thumbnails