
Finally! Kalia's bathroom is DONE!!! Well, as done as anything is in our house (which is never for very long), but it's done enough that I'm not worried about it till waaaay after she gets here!
For a refresher, here's where we started with our blah blah beige kids bathroom :


I showed you our $85 toilet upgrade and $5 paint upgrade (seriously, love when the oops color is perfect!! Happy Happy Joy Joy dance all around!!)...next up was removing the shower stall doors and doing something with that vanity.
I don't have the greatest picture of the doors beforehand because Chris was too anxious to get it all done to give me time to capture too much of the before's, but here's what I've got :

The doors were just old, outdated, and were going to be really annoying once kiddos started trying to use them. We ripped them out, but they left these little tiny holes that we filled with bath caulk.


Pre-pregnancy, I would've insisted on ripping out this old tub and the tiles and redoing it all. We did it at our first house and the difference was amazing. However, with my due date looming a measly 6 weeks away, there's not time, energy, or money to give this bathroom more than just a facelift.
Which left us in quite a conundrum when it came to the vanity. I literally had to put on the brakes to stop Chris from just ripping this whole thing out. My family will find that one funny because at our first house, Chris found out we were redoing the guest bathroom by hearing a series of bangs and then seeing me walk by, while he was on the couch, with the vanity sink top on my way to the garbage. He rolls with it all though...he just said "well, guess we're redoing the guest bathroom today!". Yeah, he's perfect for me...I love that man!
Sorry...I digress...
Where was I? Oh, right...the vanity. We looked at buying one, but after we priced out what everything would cost, we decided the $1000 just wasn't in the budget right now. We both know we can build what we want to go in here too, but oiy...I don't think my body can handle another big build right now! So we nixed that idea too...which left us with...
Enter paint stage right. Here's a shot of the vanity before my paint job (but after the walls had been painted) :

And here's what it looks like afterwards :


Yep, I faux painted a granite-y look for the tops. The cabinets got a new coat of primer, then Benjamin Moore's Moonshine paint. It's the same paint we used for Kalia's bedroom. I actually initially painted the whole thing with BM China White, but decided I liked the look of the Moonshine paint with all of the colors in there much better.


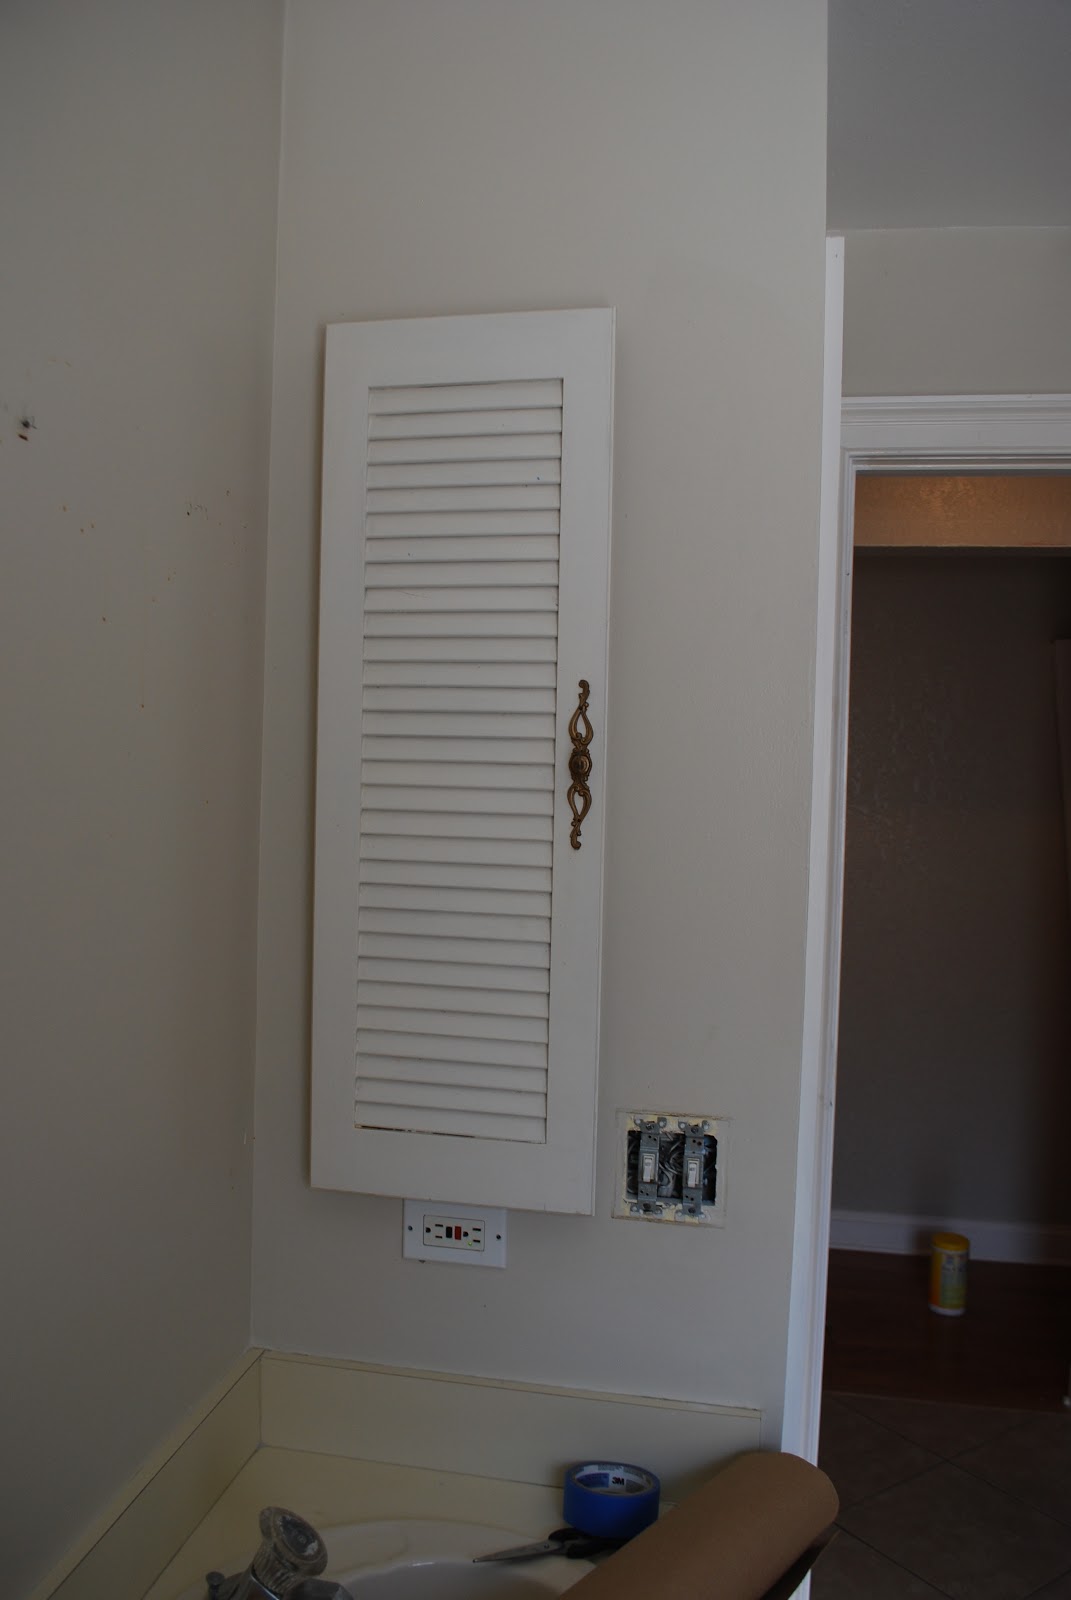
All of the vents / lights got spray painted white, and we painted the medicine cabinet to match the actual cabinets and gave the handle a fresh coat of spray paint.


I bought craft paint to do the top of the vanity, so all in all, this bathroom facelift cost a total of right around $100 buck-a-roo's for the materials.
What do you think of our $100 facelift? Do you love or hate the vanity area? For a little less than $10, it was the best I could do!!
Wondering how I got the vanity to look like that? I'll post a tutorial on Monday. Promise! (Update : Tutorial is posted...click here!)
So, that's what we've been up to every.single.day this week after work...painting, painting, painting! Ideally, we both would've loved to rip out the entire vanity or at least replace the sinks and faucets, and rip out the old bathtub and bathroom tile and update it a bit more. But sometimes you have to draw the line somewhere! For $100, I couldn't be more happy with our outcome.
My Dad made a comment to me this week that he thought in my 3rd trimester I was supposed to start getting tired and slowing down. I'm tired...that's for sure...but my brain is just go go go!! Chris said last night that he thinks I'm speeding up instead of slowing down...ha! We've got this last weekend as a big push to get a few more projects done and then I'll officially go into relax / slow down / 3rd trimester mode. With 6 weeks left until my due date, I think it's about time!
Happy Friday guys! Hope everyone has a great weekend!

If you enjoyed this post, please leave a comment or subscribe to the feed reader to get future posts delivered to your reader. For a refresher, here's where we started with our blah blah beige kids bathroom :


I showed you our $85 toilet upgrade and $5 paint upgrade (seriously, love when the oops color is perfect!! Happy Happy Joy Joy dance all around!!)...next up was removing the shower stall doors and doing something with that vanity.
I don't have the greatest picture of the doors beforehand because Chris was too anxious to get it all done to give me time to capture too much of the before's, but here's what I've got :

The doors were just old, outdated, and were going to be really annoying once kiddos started trying to use them. We ripped them out, but they left these little tiny holes that we filled with bath caulk.

The shower curtain will hide them, so I'm not too terribly worried about it...it's good enough for now. This shower curtain isn't staying...we need to go find one that's 84'' long for in here instead of the standard 72'', but you get the general gist of what we're going for this way! Silly me for not measuring before picking something up! Here's the after with freshly painted ceilings, walls, trim, eyeball light, and oil rubbed bronze toilet paper holder :

Pre-pregnancy, I would've insisted on ripping out this old tub and the tiles and redoing it all. We did it at our first house and the difference was amazing. However, with my due date looming a measly 6 weeks away, there's not time, energy, or money to give this bathroom more than just a facelift.
Which left us in quite a conundrum when it came to the vanity. I literally had to put on the brakes to stop Chris from just ripping this whole thing out. My family will find that one funny because at our first house, Chris found out we were redoing the guest bathroom by hearing a series of bangs and then seeing me walk by, while he was on the couch, with the vanity sink top on my way to the garbage. He rolls with it all though...he just said "well, guess we're redoing the guest bathroom today!". Yeah, he's perfect for me...I love that man!
Sorry...I digress...
Where was I? Oh, right...the vanity. We looked at buying one, but after we priced out what everything would cost, we decided the $1000 just wasn't in the budget right now. We both know we can build what we want to go in here too, but oiy...I don't think my body can handle another big build right now! So we nixed that idea too...which left us with...
Enter paint stage right. Here's a shot of the vanity before my paint job (but after the walls had been painted) :

And here's what it looks like afterwards :


All of the vents / lights got spray painted white, and we painted the medicine cabinet to match the actual cabinets and gave the handle a fresh coat of spray paint.

The towel bar also got a fresh coat of oil rubbed bronze spray paint. It blends in so much nicer now!

What do you think of our $100 facelift? Do you love or hate the vanity area? For a little less than $10, it was the best I could do!!
Wondering how I got the vanity to look like that? I'll post a tutorial on Monday. Promise! (Update : Tutorial is posted...click here!)
So, that's what we've been up to every.single.day this week after work...painting, painting, painting! Ideally, we both would've loved to rip out the entire vanity or at least replace the sinks and faucets, and rip out the old bathtub and bathroom tile and update it a bit more. But sometimes you have to draw the line somewhere! For $100, I couldn't be more happy with our outcome.
My Dad made a comment to me this week that he thought in my 3rd trimester I was supposed to start getting tired and slowing down. I'm tired...that's for sure...but my brain is just go go go!! Chris said last night that he thinks I'm speeding up instead of slowing down...ha! We've got this last weekend as a big push to get a few more projects done and then I'll officially go into relax / slow down / 3rd trimester mode. With 6 weeks left until my due date, I think it's about time!
Happy Friday guys! Hope everyone has a great weekend!

I'm linking to the parties on my sidebar...go check them out!
Something about you reminds me of....well, me! The scene you describe as you carry out the sink sounds like what happens around my house. I have a great hubby too who not only puts up with it, but I think actually gets a kick out of it! My 16 year old asked me about a month ago why I always have 'something going on.' lol
ReplyDeleteAnyway, the bath looks great. My kids are teenagers now. But I remember the years when I was pregnant and renovating. I get tired just thinking about it! :)
Thanks for sharing! Lesley
thehomelessfinch.blogspot.com
Amazing work! Seriously, I had to recheck the post to see that you hadn't installed granite counter tops. I thought to myself, she must have got the granite for free to get all of that done on such a small budget.
ReplyDeleteLove the counter tops and the paint colour.
It looks so good! We have those cabinets in our kitchen and have considered painting them while we're saving up for the full gut and remodel. I really like the way yours turned out!
ReplyDeleteThe countertop looks great. you could have fooled me!
ReplyDeleteI think it looks great, the counter tops are amazing and have given me quite the inspiration!
ReplyDeleteGreat job lady....i love faux painting. Can you get some rest now:)
ReplyDeleteWhoa whoa whoa! Please do a post in detail explaining that faux-granite counter top PLEASE! That is INCREDIBLE!
ReplyDeleteLooks great and must feel that much better knowing it was so cost effective!
great job guys!
It looks sooo much better in there! Great job guys! =]
ReplyDeleteHoney, you're nesting! In a completely productive way! I did the same thing when I was pregnant. We tackled house projects and it made me much calmer towards the end. I was very impatient and the projects helped a lot!
ReplyDeleteWow! It looks amazing!!!
ReplyDeleteOoh! Ooh!
ReplyDeleteI just finished my bathroom too! Yesterday!
I am so happy you left a comment on my blog so I could find yours :)
I think it looks great! Isn't it amazing what a little paint can do? I'm in love with oil rubbed bronze paint, and the faux granite looks amazing. Visiting from Remodelaholics Anonymous party.
ReplyDeleteVisiting from Miss Mustard Seed -- What a beautiful transformation. I really like how you redid the laminate and the faux granite. The granite is one of the best I've ever seen. Fantastic job!
ReplyDeleteMichi
Whoa lil sis! You really should start slowing down ;-) Wow...what an amazing transformation. Can't wait to see it in person! Can't believe how good the faux granite looks. Love you.
ReplyDeletegreat transformation...everything looks so fresh and clean. love the toilet with the two different buttons for flushing...i had never seen anything like that before....love it.
ReplyDeletegreat job guys!!!
hugs, cindy
wow Kara-i thought you put granite countertops in! those look great-can't wait to see how you did it. what a difference and so awesome you did it for that price!
ReplyDeleteGreat job! What an adorable bathroom! Love the faux granite, amazing transformation.
ReplyDeleteYou made such a huge impact with a small budget. It looks great! Way to go, Kara!
ReplyDeleteBEAUTIFUL makeover!
ReplyDeleteI popped over from Between Naps on the Porch to admire your work. Very nice.
ReplyDeleteI did a faux granite finish on our 1980's double sink vanity, too. I used a splatter pattern. I like yours better. It's been four years and still looks good. I'm ready for a change, so I'm thinking of stripping it and changing it to a finish more like marble, or maybe how you did yours.
Looking forward to your tutorial
Great job. Can I make one comment though? I could be wrong but I believe you installed your light fixture upside down.
ReplyDeleteThanks for the compliments guys!! The tutorial is up now!
ReplyDeleteRobin...I know, I thought the same exact thing, so I thought we'd fix it when we re-did everything in here. But if you turn the light the other way, the glass falls out. It's not held in by anything (trust me, we tried, and almost lost a few globes!). That's on our 'one day upgrade' list too! Funny you noticed the same thing...it's been driving me bonkers for awhile!
Very dramatic and elegant. Great choices Kara. Looking forward to seeing the tutorial on the faux-painting. Very pro looking! Hope you'll stop by and see my bathroom curtain. Jane
ReplyDeleteOMG! What a transformation!! I love all you didi. Can't wait for the tutorial!
ReplyDelete*hugs*Deb
Looks great!!!
ReplyDeleteokay, so when i saw your thumbnail on someday crafts, I thought "there is no way she put in a granite countertop on a $100 budget!" that is a FANTASTIC faux finish, and I love that you didn't go broke to do it!
ReplyDeleteI like the idea of like having a great worktop on the bathroom, the color just blends with the bathroom color in which I also prefer in the kitchen.
ReplyDelete