
The elephant towel I got (from Anthropologie, fyi!) while out on my nursery loot shopping trip with Erin has been my inspiration / color pallet for the entire room. My plan when buying it was to turn it into a pillow.


If you enjoyed this post, please leave a comment or subscribe to the feed reader to get future posts delivered to your reader. 
So, that's exactly what I did. I took a brown napkin I had left over from my napkin pillows with fabri tac project in the daybed room, and sewed it onto the back of this tea towel.

And here's the front :

My tea towel was a little longer than my napkin, so I just sewed along the napkin hem, and cut off the excess fabric that hung over.
Wait...shut the front door...did I just say sewed?! Yep! I did!! Erin came over a few weeks ago and taught me how to sew.
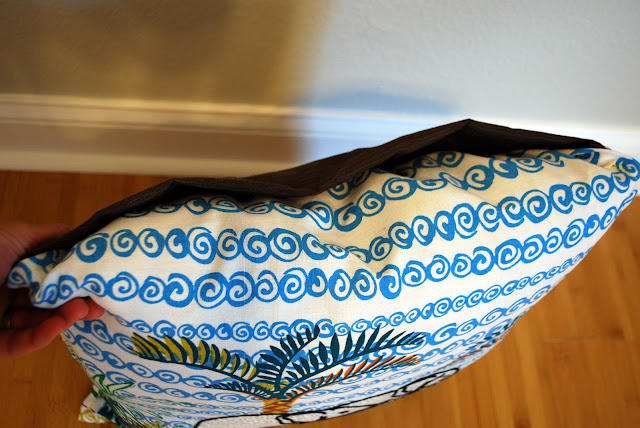
Slight problem though...I'm impatient. Which doesn't bode well with sewing. I didn't want this to be a permanent pillow...I wanted to be able to remove the cover and wash it when necessary. Because I'm impatient, I didn't really think about how to implement that until I got three out of the four sides done. Then I decided I'd just flap over the pillow for now, tuck it in, and maybe add a zipper later. So this is where my elephant pillow's top currently stands :

I decided I'd get smarter with my next two pillows I wanted to make. I had two napkins for the front that I loved the pattern of, and my dark pink fabric accented the back perfectly.
I cut laid out my napkin, and used it to cut out the shape/size of my fabric, leaving excess around the sides to account for seams.

Here's where I thought I got really smart. To solve my wanting to be able to wash the pillow case dilema, I decided I'd make an envelope style pillow. So, I cut my back fabric into one third and two third segments...

Used these cool clips to hold my hem line in place

Got excited that my hem turned out semi decent looking...

Sewed the right sides (the sides you want everyone to see) together, and wala!

This is my pillow inside out. It's not perfect, but you won't see the hem/seam lines because I sewed it inside out. I was so pleased with myself at this point. I flipped my pillow cover right side out, and shoved my pillow in...

Woot!! Minus needing ironing, look how pretty that pillow is!!!
Untill ...
you flip her over...

And then she looks like me when I try to get away with not wearing maternity jeans. The pillow is too fat! Sigh. Realistically I didn't care enough to scrap it. It's the back of the pillow for crying out loud...and I did it all.by.myself. I know, it looks like my 5 year old self did it, but that's besides the point.
I really wanted to make two of these, so I decided to cut MORE fabric for the second one for the back. But I'm impatient, remember? So instead of recognizing that I was too tired to do this right, I attempted to make my second pillow...
I messed up. I sewed the right sides together for half of the pillow, and the wrong and right side together for the second half of the pillow. I know there's tutorials on how to measure for this, but I just decided I needed about an extra 6 inches and went for it. This is the sad, sad shape of the back of my 2nd pillow.

But again, it's the back, so I don't really care.
I did want to make two MORE pillows though. I started a different night before bed and decided that since I was tired, I'd resort to my old trust fabri-tac ways.
I cut out my fabric to 20'' (my two insert pillows are 18'', so that allowed for a 'seam'.)

Then cut my line for my envelope...

Then added a bead of fabric tac around the outside of the full pillow and pressed together the fabric. I let it sit overnight to dry (for two pillows), and had this in the morning for the backside :

I was so excited and anxious to get my pillow inside of here...it really looked half way decent!! So I shoved it in there, and ...

BOOO!!! Apparently the magic of fabri-tac is lost on some fabrics. SO SAD!
Last night I took both of these half put together pillows and sewed them up instead. They're not perfect either, but hey...I'm just a beginner! Lesson learned though : sometimes sewing IS easier than fabri-tac.
Here's the end result of all 5 of my pillow adventures :
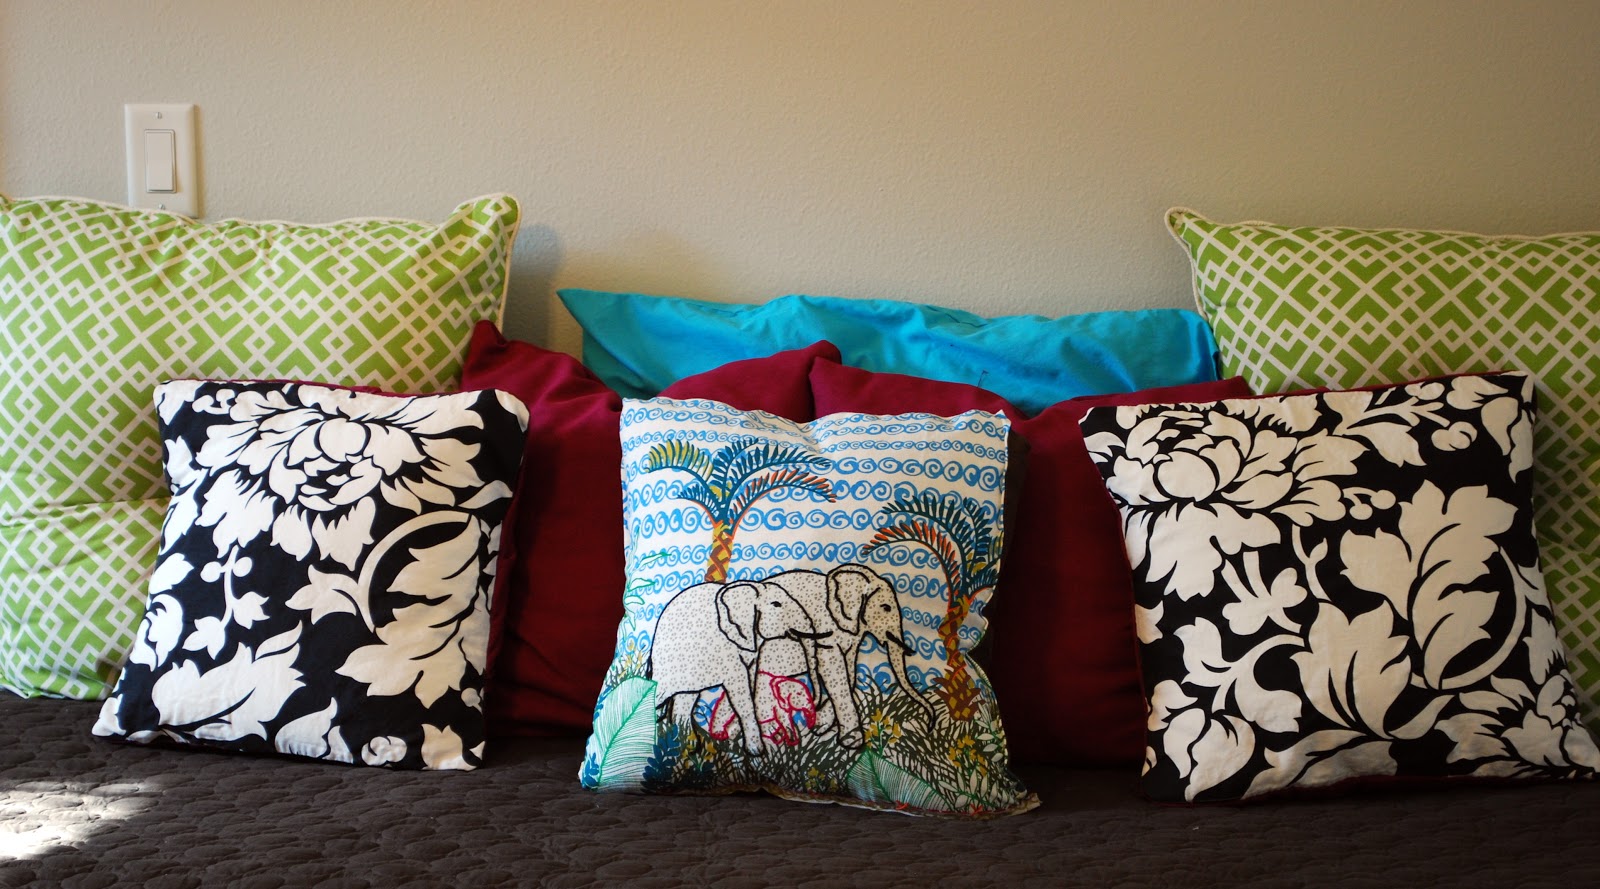
They might be a little rough around the edges, but they're good enough for me!
Yes, I know...worlds longest post on pillows! I really do love using napkins and tea towels though as my face for pillows. I can get so much more bang for my buck that way.
Hope everyone's had a great week so far. I don't know that I'll have time to post again this week, I have my sister in town until Friday morning. So...I hope everyone has a great weekend too!

I'm linking up to the parties in my sidebar...go see what everyone else is 'talking' about!
I love the pillows! (And no one looks at the back anyways...haha. I have several pillows that turned out very similarly). Such a great idea to use a napkin!
ReplyDeleteThank you for the good laugh. I'm sure you aren't the first to make these slight errors, but at least the fronts look great! And with all the new sewing skillz u learned, its hard to remember everything. =) I just love how the elephant pillow served as great inspiration for the room!
ReplyDeleteGreat minds! I have a thing going for elephants too at the moment and that pillow is a great colorscape for a room. Just lovely! And the sewing part.... dude, we have all been there at one point. That's how we get better, right? Point is you rolled up your sleeves and have awesome pillows as a result!!
ReplyDeletelisten, you can't be telling me fabric tac doesn't work. i was going to make my own pillows from napkins, i really was. don't start sewing, lol, i need to know it's possible without sewing! am i back to square one? oh boy.
ReplyDeleteyour pillows all look fab, especially the elephant inspiration one!
Great idea!! Your pillows look really nice :) Practice makes perfect right??? I need to be brave and attempt to make my own pillows!!
ReplyDeleteHey, coming from a non sewer, I think they're great attempts- at least you're learning, right? :) Visiting today from Thrilling Thursday at Paisley Passions!
ReplyDeletethese pillows are awesome, especially the elephant one! don't worry about your mistakes, hopefully you don't make the same ones again ;-) you'll become a master soon....
ReplyDeleteThese are great! Heck, who's gonna look at the BACKs of the pillows anyway? :)
ReplyDeleteI am guilty! My pillows are too fat too!! I can't wait to see the finished room.
ReplyDeleteAdorable! They all came out great! Visiting from Paisley Passions and I am a new follower!!!
ReplyDeleteHave a great day!
Michelle
http://www.delicateconstruction.blogspot.com/
Great tutorial!
ReplyDeleteLove the Elephants! What a fun inspiration. And it looks great on a pillow:)
ReplyDeleteWhat a fabulous idea. Thank you so much for sharing. I'm a new follower. Hope to see you at DIY Home Sweet Home on Monday for More The Merrier Mondays Link Party.
ReplyDeletehttp://diyhshp.blogspot.com
Hey, for first time sewing all the way to pillow making, I'm pretty impressed! I've only sewn an apron, and that came with instructions and pattern and everything, so you coming up with your own design and doing it? Color me seriously impressed!
ReplyDeletehttp://dojocrafting.blogspot.com
Those turned out great!!! I love the elephant one. Great tutorial too! Thanks so much for linking up to Thrilling Thursday @ Paisley Passions. I hope you stop by again soon :)
ReplyDelete~Lori @ Paisley Passions
Beautiful! You must smile every time you pass one of them.
ReplyDeletethis is so great! i love how they turned out!
ReplyDeleteabranconier.blogspot.com
I'm impatient, too. I want it done quick and done now! I have to picture the steps in my head over and over again before I can get it right, and even then it's a pretty good chance that I mess it up. Luckily, after I do a project a few times I usually get the hang of it, and then I'm happy with the results!
ReplyDeleteThe pillows look great. Like you, I like to have removable covers, too.
I came across your link on remodelaholic and had to comment because I just posted something like this on my blog yesterday. I definitely took the lazy approach;)!
ReplyDeleteSo cute! I love all the colors, especially that green! I just posted tonight about a pillow I made too! Would love it if you stopped over to look! Great job!
ReplyDeleteThey are very cute pillows. Love the colors and the patterns.
ReplyDeleteI thoroughly enjoyed reading your blog post about "Pillow Talk Nursery." Your creativity and attention to detail in decorating and designing the nursery are truly impressive.
ReplyDeletepromocodehq
Thank you for sharing your wonderful nursery ideas, and I look forward to seeing more of your creative projects. The combination of colors, patterns, and adorable elements is simply charming.
ReplyDeletefrugalishness
Lovely insights into "Pillow Talk - Nursery"! Your blog beautifully captures the essence of creating a cozy space. As you focus on nursery essentials, here's a helpful tip for maintaining the freshness of baby clothes: explore 'How to Get Detergent Stains Out of Clothes|'.
ReplyDelete