
As most of the things I build start, I saw this :
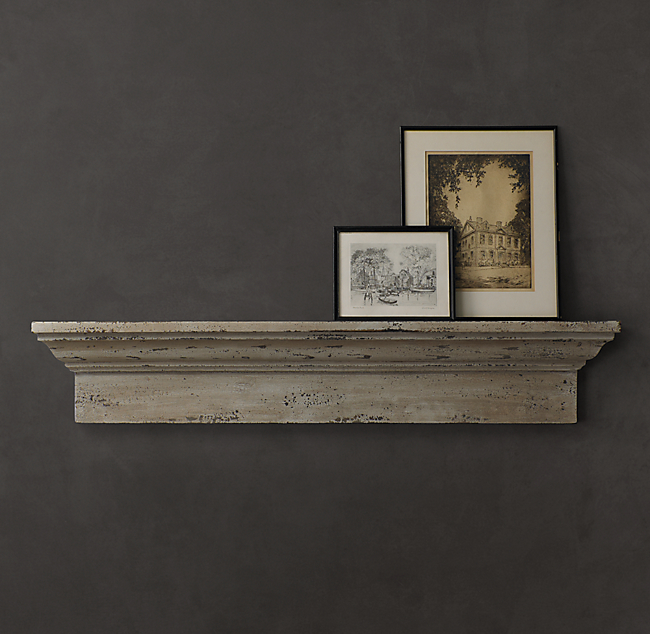 |
| Image Courtesy of Restoration Hardware |
I think I told Chris about 100 times that we could build these before he bought into it with me using scrap pieces we had lying around to do a mach up version of these. They are seriously so simple to make.
Lucky for you, Ana White drew up an amazing how to, so you don't have to follow my scrap board pieces to buld this for yourself. Just hop over to her site and follow the simple directions!
The ledge is essentially two 1x5's and a piece of crown molding between the two. We used a 1x4 for the top and a 1x5 for the bottom piece...

...and then used a nail gun to put the crown molding piece in between.


Because our ledges go all the way across the wall, we only had to worry about finishing one out of the four ends of our ledges...which was the only sort of tricky part with this whole project.

For the full tutorial, check out here : Ana White Building Crown Ledges .
After both ledges were put together,

I primed it all and then gave it a few good sandings with my 150 grit sandpaper, followed by a final coat of the 200 grit sandpaper, until the entire thing felt really smooth.

After that, I painted my base coat of turquoise on. I used left over paint that I had from my sewing cabinet makeover I did awhile back.

I know, entirely too bright, but I expected that! Like I said, this was my base coat. Two notes about this...
1. That orange container you see there is a big thing of Floetrol. For painting things, it is my best friend. Especially in this extremely high Florida humidity. It basically acts as a conditioner for latex paints. It extends out the drying time and makes it a whole lot easier to eliminate brush strokes.
2. I almost always do a test run on pieces to see if I can get the desired outcome before just jumping on board with painting the entire thing when they're this big. I took scraps and painted about a million different color and finishing combinations until I came up with one I liked. Much easier than being frustrated at the end with all of the hard work you do on a large piece!
After I put the base coat on, I took some leftover gel stain I had (Minwax's Red Mahogony) and spread it generously on top.

My goofy hubs took that picture and then decided that I looked creepy with no head, so he needed a head shot too. Maybe I was supposed to photoshop these two pictures together, but I don't know how to use photoshop, so you just get the picture.

I wiped off the excess gel stain until I got to a color combo I liked. There was a minor freak out moment here where I couldn't get the gel stain off quick enough and I thought I ruined the entire thing and was going to have to sand it all down and start from scratch. Chris (goofy hubs!) came to the rescue and told me to just wipe it down with paint thinner. That was actually a brilliant move. I just added a little bit of paint thinner to my rag and went up and down until I got the ledges just right finish wise. Then I sanded down the edges a bit and added a few coats of polycrylic, and viola!

We added j hooks to the back and mounted both ledges side by side.

Details shots :


Here's our finished ledges at Kalia's birthday party (thanks E for taking these pictures!) :


So what do you think of them? We really love how this room is coming together. It's a really fun bright space!
I'm actually going to do something a little different with pictures on the ledge, I'll have to share what I wind up with at the end. This was so fun to put together, to reflect back on some of our favorite memories with our little girl. Where oh where did the last year go?!?!
Hope everyone has a wonderful weekend. We just got back from a 2+ week family vacation, so I'm really behind in posts. Hopefully I can catch up with some things this weekend and be back on track. Happy Friday!

If you enjoyed this post, please leave a comment or subscribe to the feed reader to get future posts delivered to your reader.
I'm linking up to the parties in my sidebar - go check them out!
Wow! That looks amazing! And with all those frames on top - so awesome. You did a great job. :)
ReplyDeleteThanks so much Morgan! I appreciate the compliment!
DeleteFicou lindo ,amei !
ReplyDeleteMuito obrigada Lilian!
Delete