
I didn't make it a month with the kitchen the way it was before my paintbrush came out and I started going gray (Moonshine by BM).

The way it was before was entirely too busy for me. The star of the show should be the cabinets, granite, and the backsplash. There was no need for all of the faux gold / beige paint. It's not BAD, it's just not us.

This is the main kitchen area. Then there's a single pendant light that hangs down over I have no idea what's supposed to be there. I call it the giant boob light. Chris says he likes it. Shocker!

Just past the giant boob light is the eat in kitchen area with a chandelier. We have a dining room too. So yeah, the giant boob light area confuses me.

Here's a view of the whole thing from the kitchen cabinet point of view :

And another from our kitchen table point of view.

Besides being too busy, it was entirely too dark for me too. I like things bright and airy. I know, show you the after's already...
First up, our eating area.


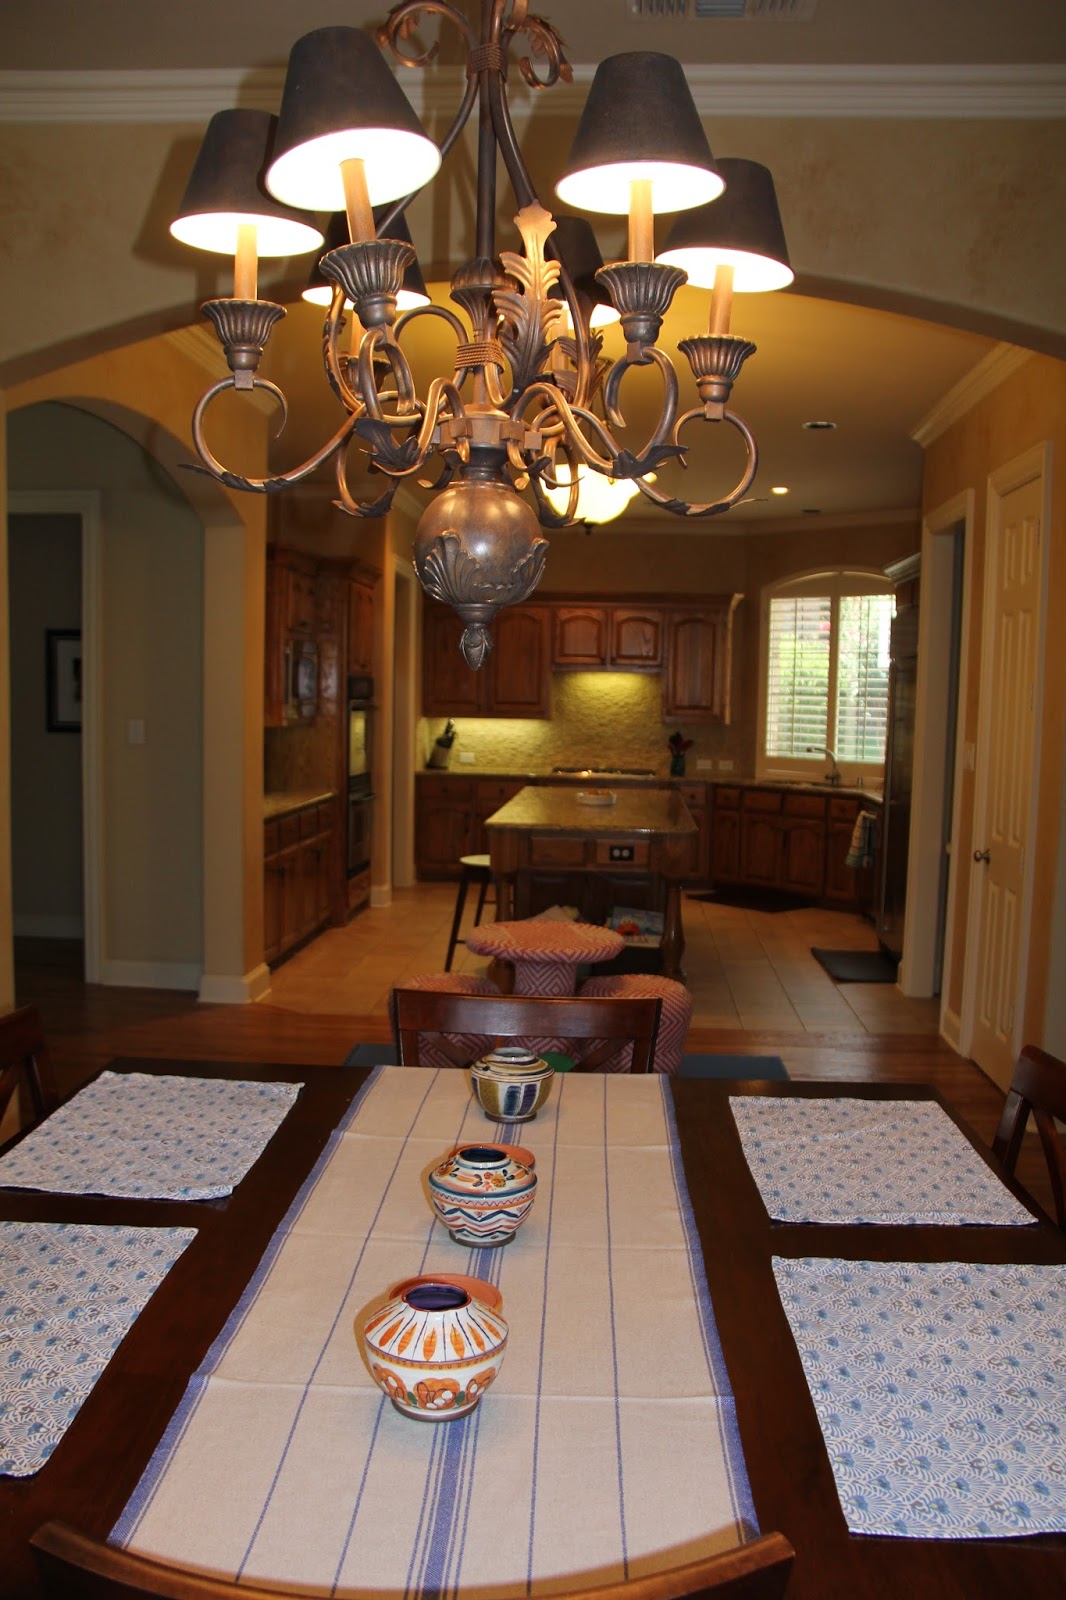
I have three little vases that I leave on the table. Kalia and I go pick flowers to put in there. And then she talks about them nonstop! I got them from Antro on clearance awhile back.

The crossed ski's and pictures, as well as that HART sign I re-made found their home here in this house.

So did the key art I made.

The kitchen might as well be another playroom for Kalia. I keep her toys all over the place in here to keep her occupied when I'm cutting up stuff or doing oven stuff that could hurt her. She is definitely a little helper, but there are times when it's safer for those little hands of hers to be occupied elsewhere!


There are placemats on the table because Kalia is boycotting her high chair, and the big table is a little scary with how much she wiggles around, so we ALL eat at this table.
There is a paper roll to the right of it, and those little drawers hold play doh and coloring books. She loves this little table!! It's an two year old pottery barn table (they don't even make that big of one anymore, it's 54"), and we bought it off of craigslist. There was marker all over it and it was sort of dirty, but nothing a little elbow grease and a magic eraser pad couldn't take care of. Chris didn't want to buy it initially, and then was like "Wow!! We got the deal of the century!! How come they didn't do that BEFORE they sold it??! They could've gotten a TON more for this!!" It pretty much looks as good as new, cept it's already broken in. Love that Craig and his ingenious list!!

Oh, and another thing the magic eraser is great at is cleaning grout. I got down and scrubbed the brown grout until it turned gray. It was an arm workout, but not as bad as I thought it would be!
Before :

Exact same tiles after :

Amazing!!! The Target brand worked just as well too, fyi!
The view from the kitchen sink :
 The view OF the kitchen sink :

and the view from the fridge :

No, all of that fruit isn't there for staging. We eat A LOT. All of us, including Kalia. Ask anyone that has had us over for dinner. We are GOOD eaters. Hey, at least it's healthy!
I keep another few baskets of toys under this side of the island too. Can't keep anything there that isn't Kalia friendly, so rather than fighting to keep her little hands out of things, I just give them something to do!

I said I wasn't going to paint these cabinets, but the more I live with them, the more I want to change something up. The paint job is good enough for now though! What do you guys think?
Happy Monday! Hope everyone had a great weekend!

If you enjoyed this post, please leave a comment or subscribe to the feed reader to get future posts delivered to your reader.

The way it was before was entirely too busy for me. The star of the show should be the cabinets, granite, and the backsplash. There was no need for all of the faux gold / beige paint. It's not BAD, it's just not us.

This is the main kitchen area. Then there's a single pendant light that hangs down over I have no idea what's supposed to be there. I call it the giant boob light. Chris says he likes it. Shocker!

Just past the giant boob light is the eat in kitchen area with a chandelier. We have a dining room too. So yeah, the giant boob light area confuses me.

Here's a view of the whole thing from the kitchen cabinet point of view :

And another from our kitchen table point of view.
Besides being too busy, it was entirely too dark for me too. I like things bright and airy. I know, show you the after's already...
First up, our eating area.

I haven't painted the ceilings yet, but it bugs me as is, so I'm sure I'll get around to it before too long. Ceilings are such a workout though! I can't decide if I want to go a lighter gray or a lighter blue or just mix it up at least for just the eating area and do a dark blue. Sort of like this picture. as I've mentioned before, the trim and shutters are all a cream / off-white, so white is out.

I have three little vases that I leave on the table. Kalia and I go pick flowers to put in there. And then she talks about them nonstop! I got them from Antro on clearance awhile back.

The crossed ski's and pictures, as well as that HART sign I re-made found their home here in this house.

So did the key art I made.

The kitchen might as well be another playroom for Kalia. I keep her toys all over the place in here to keep her occupied when I'm cutting up stuff or doing oven stuff that could hurt her. She is definitely a little helper, but there are times when it's safer for those little hands of hers to be occupied elsewhere!

Under the boob light is a little craft table and two chairs and a bench. It's the only thing that makes sense there to me.

There are placemats on the table because Kalia is boycotting her high chair, and the big table is a little scary with how much she wiggles around, so we ALL eat at this table.
There is a paper roll to the right of it, and those little drawers hold play doh and coloring books. She loves this little table!! It's an two year old pottery barn table (they don't even make that big of one anymore, it's 54"), and we bought it off of craigslist. There was marker all over it and it was sort of dirty, but nothing a little elbow grease and a magic eraser pad couldn't take care of. Chris didn't want to buy it initially, and then was like "Wow!! We got the deal of the century!! How come they didn't do that BEFORE they sold it??! They could've gotten a TON more for this!!" It pretty much looks as good as new, cept it's already broken in. Love that Craig and his ingenious list!!

Oh, and another thing the magic eraser is great at is cleaning grout. I got down and scrubbed the brown grout until it turned gray. It was an arm workout, but not as bad as I thought it would be!
Before :

Exact same tiles after :

Amazing!!! The Target brand worked just as well too, fyi!
The view from the kitchen sink :
 The view OF the kitchen sink :
and the view from the fridge :

No, all of that fruit isn't there for staging. We eat A LOT. All of us, including Kalia. Ask anyone that has had us over for dinner. We are GOOD eaters. Hey, at least it's healthy!
I keep another few baskets of toys under this side of the island too. Can't keep anything there that isn't Kalia friendly, so rather than fighting to keep her little hands out of things, I just give them something to do!

I said I wasn't going to paint these cabinets, but the more I live with them, the more I want to change something up. The paint job is good enough for now though! What do you guys think?
Happy Monday! Hope everyone had a great weekend!


